How to Clean and Maintain Your Gaming Keyboard
19 September 2025
Let’s face it — your gaming keyboard takes a beating. Between late-night gaming marathons, energy drinks, rage quits, and crumbs from way too many snacks, it’s no surprise your keyboard eventually looks (and feels) like it’s been through war. But don’t worry, it’s not beyond saving. Whether you’re rocking a mechanical beast with RGB bling or a more minimal membrane board, taking proper care of your gaming keyboard not only keeps it looking sharp but also extends its life.
In this guide, I’ll walk you through how to clean and maintain your gaming keyboard step-by-step. You’ll find tips for deep cleaning, daily maintenance, and even a few tricks to keep your precious keys functioning like new. Ready to give your keyboard the spa day it deserves? Let’s dive in!
Why Cleaning Your Gaming Keyboard Actually Matters
Before we get into the nitty-gritty, let’s talk about why this even matters. I mean, it’s just a keyboard, right? Not exactly.Here’s what happens when you don’t clean it:
- Dust and debris pile up under the keys, causing them to stick or become unresponsive.
- Germs — yes, actual germs — build up over time. Some studies have shown keyboards can be dirtier than toilet seats. Yikes!
- Performance drops, especially on mechanical boards where precision is key.
- RGB lighting gets blocked or dulled by dust and grime.
- And let’s not even talk about the unsightly mess that can accumulate.
Cleaning your gaming keyboard = better performance, longer lifespan, and yeah, it just looks way cooler.
What You'll Need: Keyboard Cleaning Toolkit
You don’t need a high-tech lab setup to clean your keyboard. Most of this stuff is cheap, or you probably already have lying around.Basic Cleaning Tools
- Soft microfiber cloth- Can of compressed air
- Cotton swabs
- Isopropyl alcohol (at least 70%)
- Small brush (an old toothbrush works fine)
- Keycap puller (if you have a mechanical keyboard)
- Bowl or container for soaking keycaps
Optional: slime-type cleaning gel (we’ll talk about this magic goo later)
Step-by-Step: How to Clean Your Gaming Keyboard
Let’s break it down into cleaning levels — from a light refresh to a full-blown deep clean.1. Light Cleaning (Once a Week)
If you’re short on time but still want to keep grime at bay, a quick surface clean once a week goes a long way.Steps:
1. Unplug your keyboard. Rule #1 — no power while cleaning. If it’s wireless, turn it off.
2. Shake it out. Hold it upside down and gently tap to dislodge any loose crumbs or debris.
3. Compressed air blast. Use short bursts to spray between the keys and blast out the dust. Hold the can upright to avoid liquid spraying.
4. Wipe down. Use a microfiber cloth slightly dampened with water or a 50/50 mix of water and isopropyl alcohol. Gently wipe the surface and keys.
Pro tip: Never spray anything directly on the keyboard. Always spray onto the cloth first!
2. Medium Cleaning (Once a Month)
This is your go-to monthly keyboard bath. It’s not as deep as a keycap removal job but gets more gunk out than just wiping.Extra Tools:
- Cotton swabs
- Isopropyl alcohol
Steps:
1. Follow the same initial steps as the light clean.
2. Dip a cotton swab in isopropyl alcohol.
3. Gently scrub between each key to clean out grime.
4. Use the microfiber cloth to polish up the keycaps.
This is also a good time to check if any specific keys feel sticky or are less responsive. If so, they may need some extra attention or lubrication (we’ll get to that).
3. Deep Cleaning (Every 3–6 Months)
This is the big one. If your keyboard is feeling sluggish, keys are sticking, or you can't remember the last time it saw daylight under the spacebar, it’s deep-cleaning time.Steps:
1. Unplug and snap a photo of your keyboard layout. Trust me, you’ll thank yourself later when it’s time to reassemble.
2. Use a keycap puller to remove each keycap — gently! Keep them in a bowl or container.
3. Soak the keycaps in warm, soapy water (dish soap is fine) for about an hour.
4. While they’re soaking, use a brush (toothbrush works great) to scrub the keyboard’s main body.
5. Wipe out the surface with a microfiber cloth dampened with isopropyl alcohol.
6. Rinse and dry the keycaps — make sure they’re 100% dry before putting them back on.
7. Use that photo to reattach the keys.
Feeling extra? Some gamers take this moment to lube their switches, replace worn-out keycaps, or swap out stabilizers. Go nuts!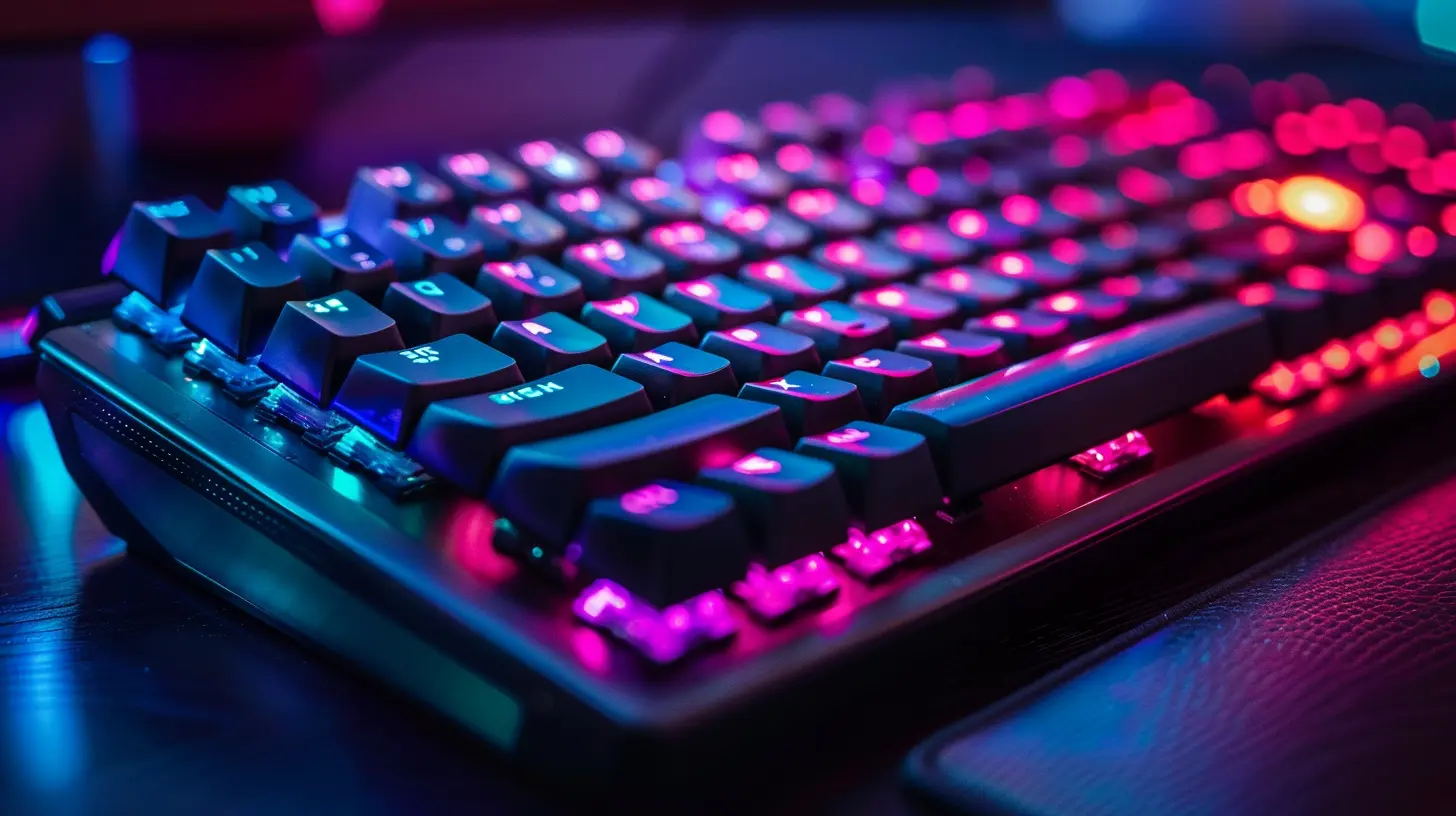
Bonus Tool: Cleaning Slime — Gimmick or Game-Changer?
You’ve probably seen those colorful blobs of “cleaning slime” online, promising to grab every speck of dust like magic. Do they work? Sort of.They’re handy for reaching hard-to-clean spots, especially around switches and tight keyboard corners. But keep in mind they’re not a substitute for actual cleaning. Think of cleaning slime like a lint roller for your keyboard — great for quick touch-ups, but not a deep clean solution.
How to Maintain Your Gaming Keyboard (So You Don’t Have to Constantly Clean It)
Okay, now that your keyboard is squeaky clean, how do you keep it that way?1. Wash Your Hands Before Gaming
It’s basic, but so effective. Clean hands mean less oil and grime transferred to your keys.2. Keep Food and Drinks Away
As tempting as it is to snack mid-match, one spill can destroy your entire setup. If you must snack, use a separate table or tray.3. Store Your Keyboard When Not in Use
If you don’t game daily, consider storing your keyboard with a dust cover or even a clean towel over it. Dust can’t settle where it can’t land!4. Clean Your Desk Too
Your desk surface is a breeding ground for dust and crumbs. Wipe it down regularly to prevent junk from migrating into your keyboard.5. Use Keycap Sets That Are Easy to Clean
Some keycap materials like PBT are more resistant to grime and shine than cheaper ABS plastics. It’s a longer-term investment, but worth it if you’re serious about hygiene and aesthetics.Signs It’s Time to Replace Rather Than Clean
Sometimes, no matter how much elbow grease you throw at it, your keyboard just isn’t the same anymore. Here are a few signs it might be time for an upgrade:- Keys are worn down, chipped, or missing
- Switches are unresponsive even after cleaning
- USB connection is loose or damaged
- RGB lights are flickering or dead
- The board is physically warped or cracked
In these cases, it might be more cost-efficient (and satisfying) to switch to a new keyboard — maybe even upgrade to a mechanical setup if you haven’t already!
Final Thoughts
Cleaning your gaming keyboard isn’t just about keeping it pretty — it’s about performance, hygiene, and making your gear last. And let’s be honest, there’s something oddly satisfying about snapping those clean keycaps back into place and seeing that RGB glow unblocked.Whether you're a casual player or an esports warrior, a little TLC goes a long way. Set a reminder to clean it regularly, and your fingers (and your win rate) will thank you.
So next time your keyboard starts feeling a little... crusty, don’t put it off. Give it some love. After all, it's your most important weapon in the game.
all images in this post were generated using AI tools
Category:
Gaming KeyboardsAuthor:

Whitman Adams
Discussion
rate this article
2 comments
Veda McNab
Great insights on maintaining gaming keyboards! Regular cleaning can significantly enhance performance and longevity. I appreciate the practical tips provided; they are easy to follow and essential for keeping our gear in top shape. Thank you for sharing this valuable information!
February 16, 2026 at 4:10 AM

Whitman Adams
Thank you for your kind words! I'm glad you found the tips helpful for keeping your gaming keyboard in great shape!
Maxine Whitaker
Great tips! Keeping your gaming keyboard clean is as crucial as leveling up your skills. A tidy keyboard can boost your game and your mood—time to make that keyboard sparkle! 🎮✨
September 19, 2025 at 3:33 AM

Whitman Adams
Thank you! I’m glad you found the tips helpful. A clean keyboard definitely enhances both gameplay and enjoyment! 🎮✨
